
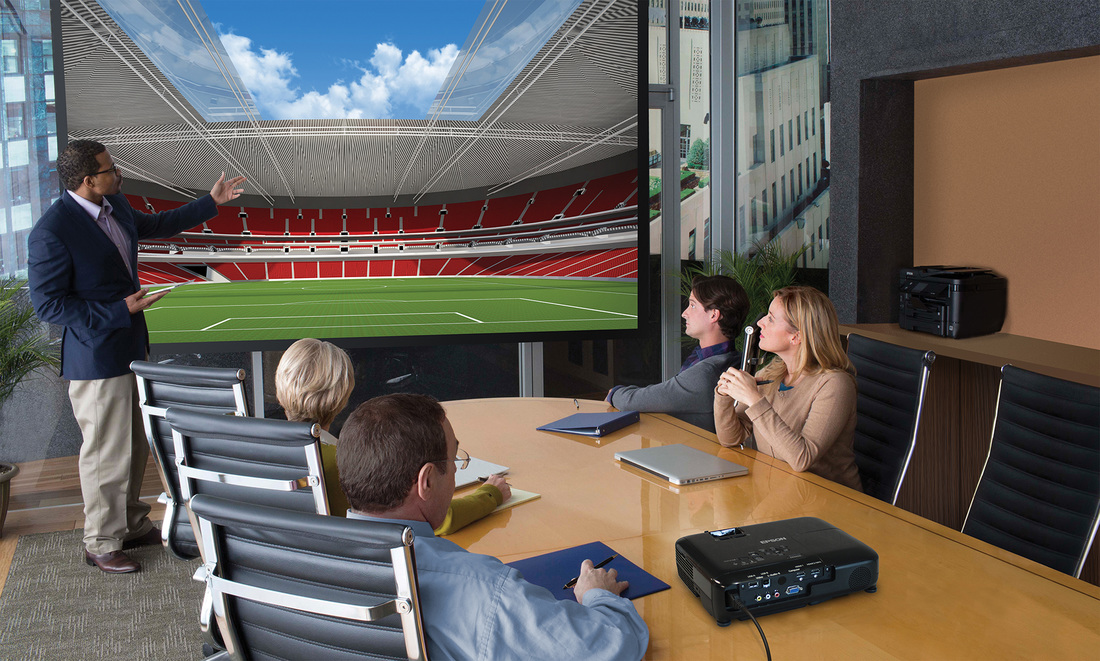
 Photo courtesy Epson America.
 Back at Abraham Lincoln High School, in Brooklyn, I was captain of the AV Squad – might have only been for one semester, or for the full year. It’s a faint memory. But any way you slice it, yup, I was a geek or nerd, or whatever term was popular at the time. I didn’t really enjoy it. Mostly we were responsible for setting up film projectors. Admittedly, I was terrible at threading the projector, so I’d try to send someone out other than myself when that job was required. I don’t remember using a slide projector back then, but I’m sure that was woven into the fabric of the AV Squad.
It wasn’t till years later, as a professional photographer, that I started working with a slide projector in earnest – a Kodak Ektagraphic, to be precise. I became a whiz at running that projector. After all, I didn’t have to thread anything. And I didn’t have a bunch of strangers looking on making me nervous.
Fast forward to the 21st century and the digital age. Projecting digital files now required a digital projector. So when I tried my hand at conducting my own photo workshops, I turned to Epson. Little did I realize what a painless experience running a digital projector would prove to be. In fact, one might say it was fun.
When I sent Epson pics of the space I’d be using initially, they recommended a brighter projector than I’d at first requested. The projector they sent me on temporary loan was the EX9200. Along with it, they sent a screen. Again, they found a more suitable choice than the one I’d originally requested. They sent the ES3000 Ultra Portable Projector Screen.
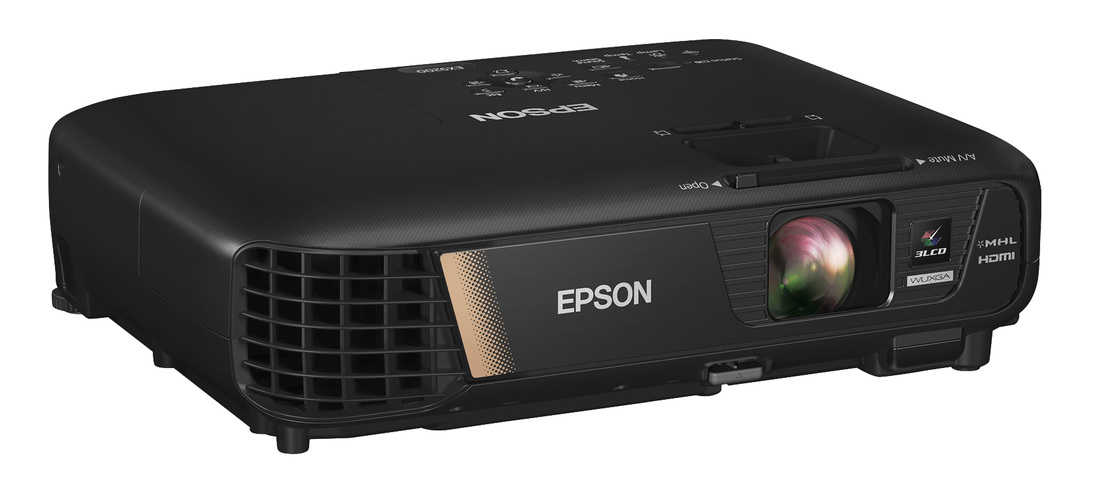
Epson EX9200 Pro Wireless WUXGA 3LCD Projector. Photo courtesy Epson America.
Setting Up and Using the EX9200 Projector and ES3000 Screen
I removed the projector from its soft, padded case. (Note: if you’ll be carrying this around extensively, you might want to look into a more substantial case, with a better carrying strap system). Then I plugged the AC cord into an outlet at one end, the projector at the other.
With the projector turned on, the rest seemed to happen as if by magic. I connected the EX9200 to my iMac via USB and everything went smoothly after that. Absolutely no bumps or hiccups to report. Using the projector with a flash drive for that first workshop proceeded flawlessly. The only thing worthy of note: I recommend you get a separate laser pointer. The laser pointer built into the remote drags across the screen and proved counterproductive. Other than that, working with the wireless remote was a breeze.
Setting up the screen seemed more intimidating. It had been a very long time since I’d last set up a projection screen. This one was big and clunky, and the illustration that served as the only instructions that came with it didn’t help. But this thing is built so tough that it’s hard to do any damage, and eventually it stood tall and facing the projector squarely. For a test run, I’d set the projector up on a small step stool, making sure to leave room for the cooling air vents.
Since it was a sample, the screen arrived without its roller case. Luckily, the classroom I’d be using for my first workshop was right across the street. So schlepping it there was easy enough – and I had help bringing it back.
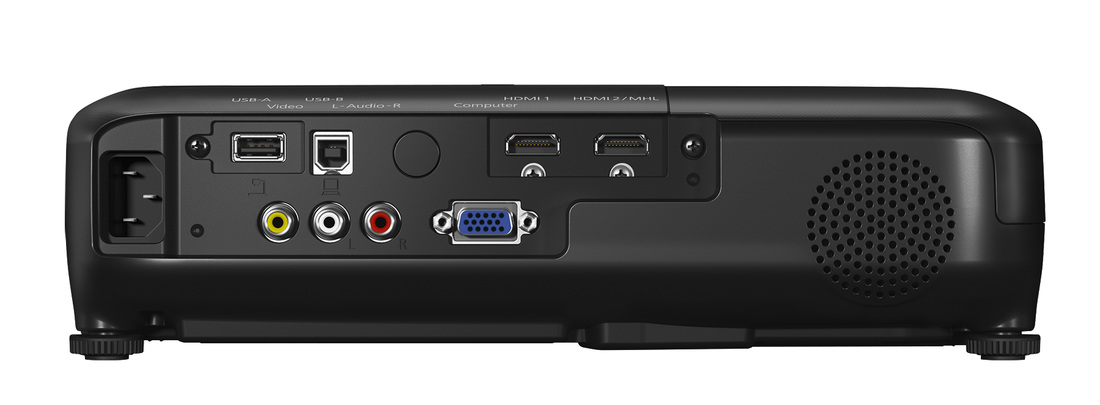
Rear of EX9200, exhibiting extensive connectivity. Photo courtesy Epson America.
| Who Should Use This? Anyone who needs a high-quality projector: schools, teachers, workshops, business meetings. Capsule Comments User-friendly; WUXGA (1920 x 1200) Full HD widescreen resolution; bright picture (3200 lumens color/white light output); sharp picture; great color; HDMI/MHL connectivity; USB; supports flash drives. Conclusions I should point out that I restricted my use of the projector to USB flash drives and direct connection via USB to my iMac. I had no difficulties with either. In fact, the entire experience with the projector was trouble free. The Epson EX9200 Pro Wireless WUXGA 3LCD Projector proved effortless in operation. The wireless remote definitely makes a difference, as does WUXGA screen resolution. The EX9200 projected crisp images with good color saturation. It was definitely the right choice for a workshop environment. Where can I get more info? Epson America One more thing: you might want to look at Epson’s guide to buying a digital projector. Use this link (click here). Manufacturer: Epson America How much is it? $799.99 | FEATURES (per Epson)
White Brightness (for well-lit rooms): 3200 lumens
|
 RSS Feed